The assembly process of high-frequency heat sealing machines and drip buckets
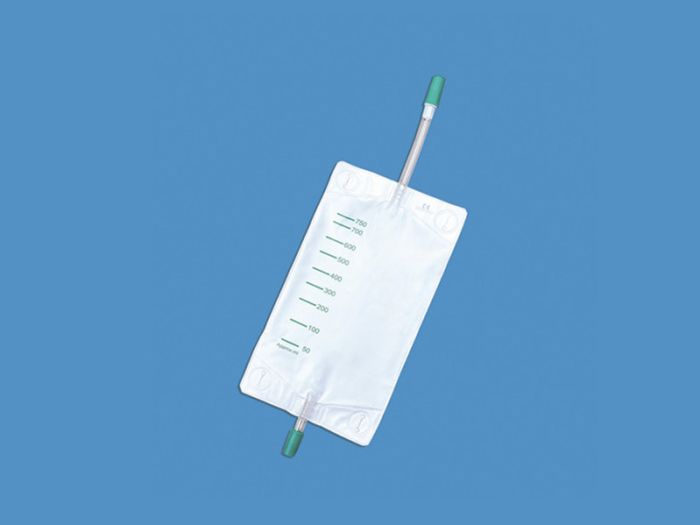
High-Frequency Thermal Welding Machine in Drip Chamber Assembly for Hemodialysis
The high-frequency thermal welding machine utilizes high-frequency electromagnetic fields to generate internal molecular oscillation heat in plastic components, achieving thermal bonding assembly of drip chamber parts. Its assembly process typically includes equipment preheating, mold installation and adjustment, parameter setup, component placement, thermal welding operation, cooling, and finished product removal. Below are the detailed steps:
1. Equipment Preheating
- Turn on the three-phase power main switch.
- Activate the power switch on the machine’s side control box, then enable the heating switch to preheat the vacuum tube and thermal molds.
2. Mold Installation and Adjustment
- Place insulating material on the lower mold.
- Install the upper mold onto the upper electrode.
- Press the test mold switch to adjust the alignment between the upper and lower molds:
- For improper lower mold alignment: Adjust the lower mold position.
- For horizontal misalignment: Calibrate the four support columns of the upper mold.
3. Parameter Setup
- After mold adjustment, configure the following parameters:
- Descent Time: Duration for the upper mold to press against the lower mold.
- Welding Time: Duration of high-frequency energy output for fusion.
- Cooling Time: Solidification period post-welding.
4. Component Placement
- Position all drip chamber components (e.g., main body, connecting tubes) into designated areas of the mold according to assembly requirements.
5. Thermal Welding Operation
- Engage the high-frequency switch to generate electromagnetic fields, enabling the components to bond under mold pressure.
6. Cooling and Product Removal
- Allow sufficient cooling time for solidified joints.
- Carefully remove the assembled hemodialysis drip chamber.